Description:
If you have some resources where you want to replace textures and set your own images for the FiveM Server that would be a tutorial for you.
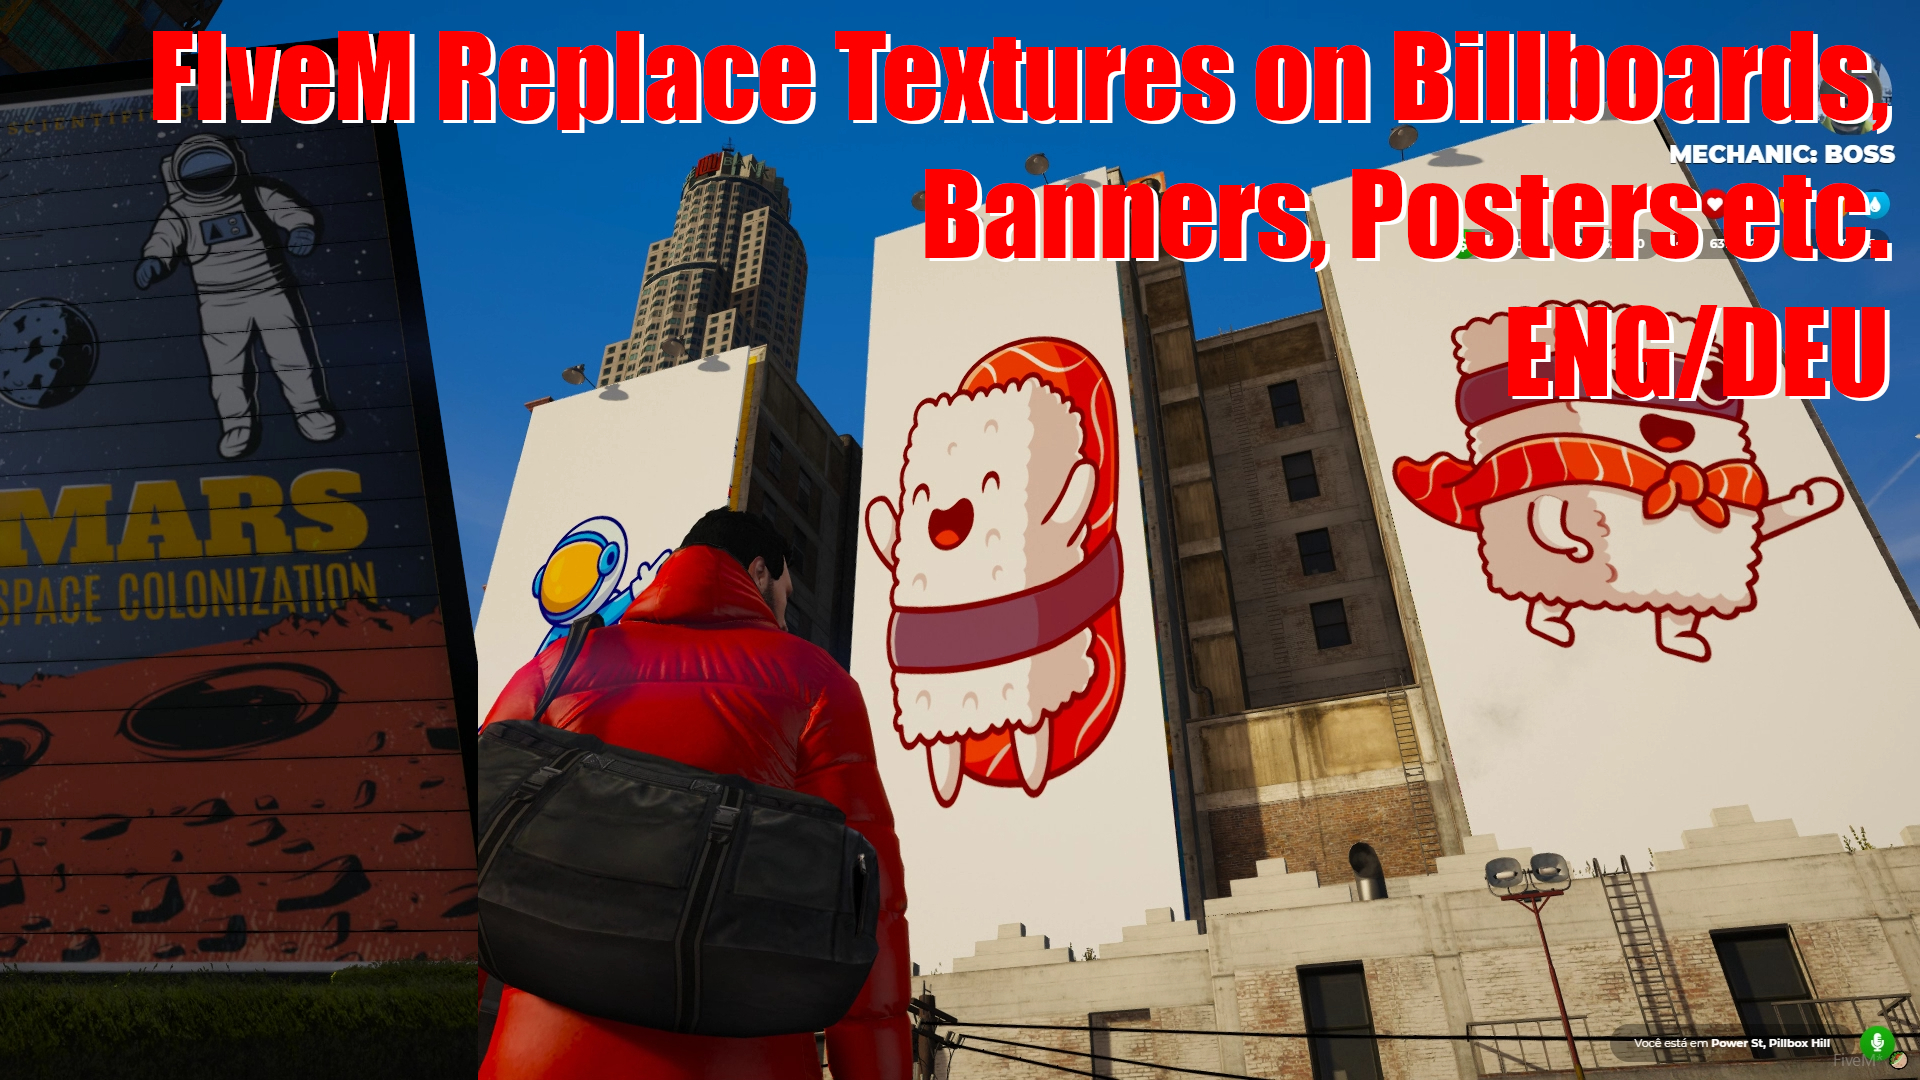
We will replace some FiveM textures in Billboards and Banner resources and take a look how it works and look like.
In general you can use such approach for all kind of FiveM textures you just need to find corresponding texture container and do the same as in the video.
Such adjustements give a FiveM Server perosonal touch and visual freedom.
I hope this will help you to change FiveM roleplay experience on your server as you like.
Installation
Follow steps in the FiveM Tutorial video and you get needed result 😉
Enjoy!
If you need FiveM Gameserver with one click installation check this:
https://zap-hosting.com/rpscripts
20% discount if you want: denmak-a-6883
If you need some general Fivem help, you can take a look at this Discord server:
https://discord.gg/Bdk3QHX
Hi Everyone,
I hope you’re doing well. Let’s say you have installed a nice FiveM billboard, banner or poster resource . It looks nice but you want to bring your own images on the board. Let’s do that 😉
Just look in the stream folder of the resource and if you see a *.ytd, *.ydd,*.ydr, *.yft, or *.ypt files, there would be something what you can adjust.
But you can do it for every texture which you want. As long as you find corresponding texture container (file) and stream it.
First we need to download Texture Toolkit. https://de.gta5-mods.com/tools/texture-toolkit
unzip and execute Texture Tool.exe
Now click File > Load and go to the folder of the resource whrere you want to replase texture. And search for following files *.ytd, *.ydd, *.ydr, *.yft or *.ypt. In those files you will find textures which you can replace.
Those files are like containers which includes multiple textures. Choose which you want to replace and click Edit > Export then save the .dds file somewhere.
Open .dds file which you have exported with a graphic editor which you have (e.g. I use GIMP because it’s for free) 😉 but there is other editors there.
Now adjust this texture like you want and let your creative side shine 😉
Alright, now save your work and overwrite .dds file. Name should stay the same.
We are almost done.
Go to Texture Tool and import .dds file in the corresponding texture/image back (Edit > Import).
After that save .ytd (File > Save). Now you need to overwrite those files on you server (in resources folder where your scripts are stored) and restart server.
By the way as you can see, this texture has multiple layers which have different sizes (but overall size/resolution remains the same).
This is needed to have textures for multiple distances (save some hardware usage).
Like if you are far away you don’t need high resolution texture for that, but when you get closer texture will have more details. So you should replace textures in all layers.
In also could be that textures are splitted between different files.
Alright, stay healthy and have fun replacing textures 😉
Here is a Tutorial on the RP Scripts Youtube Channel: